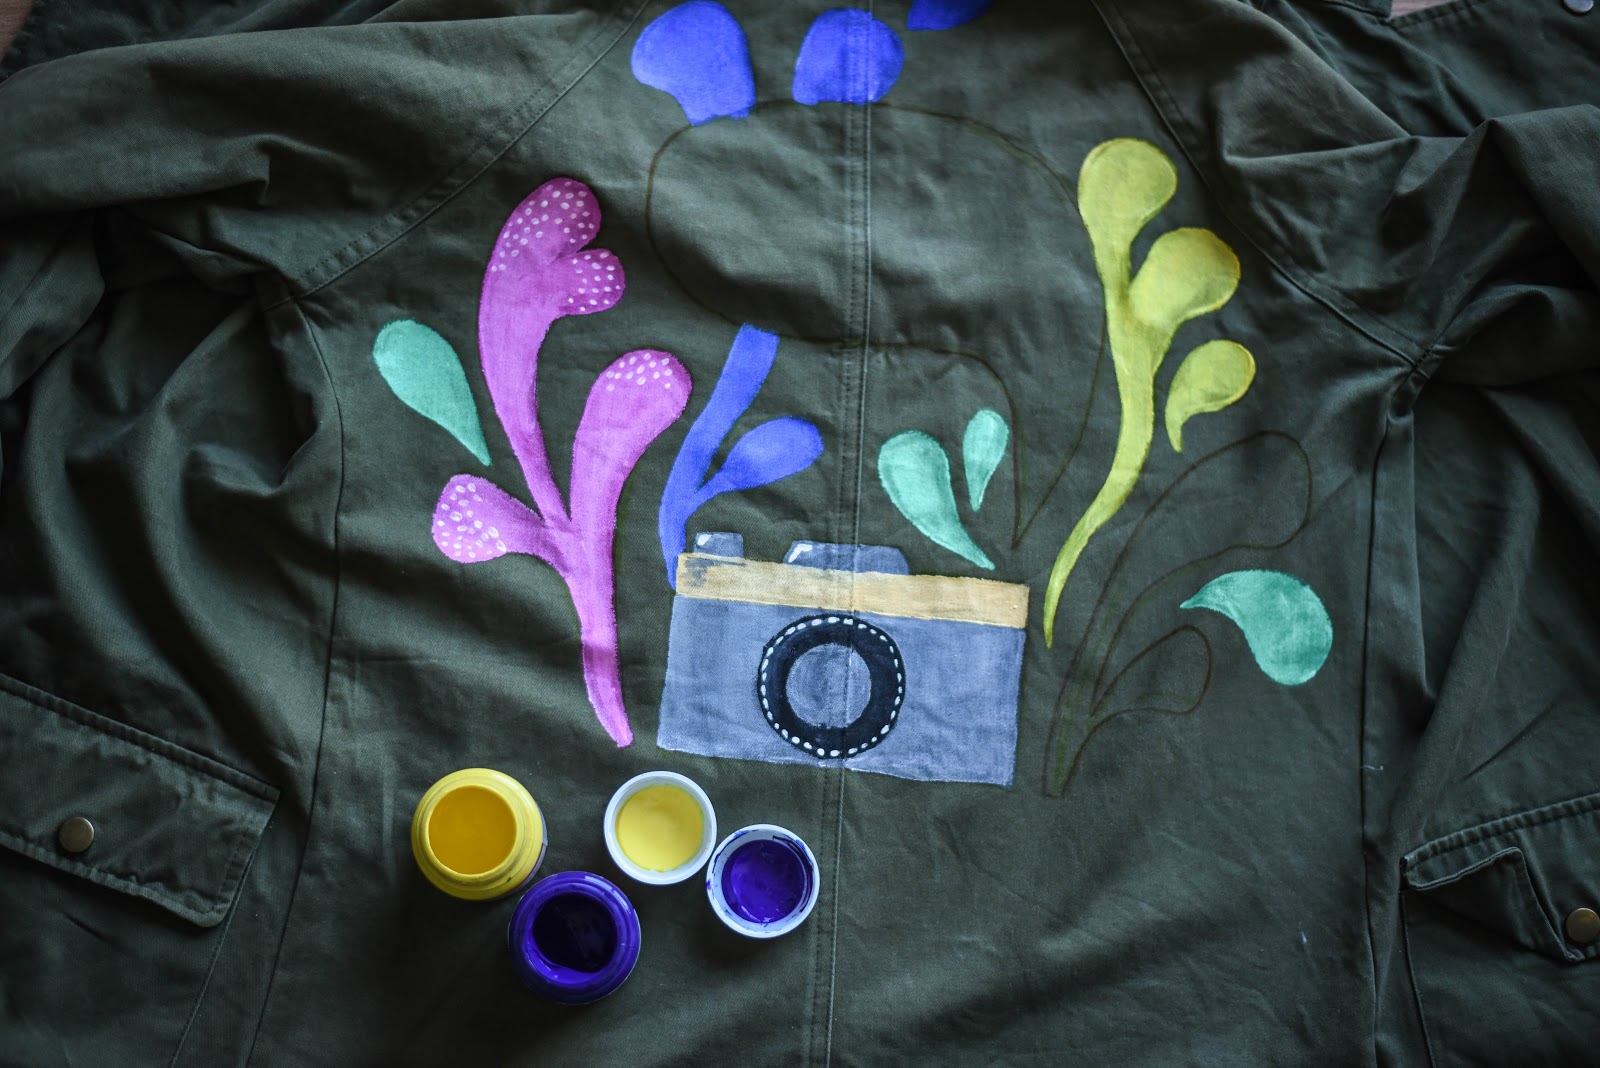
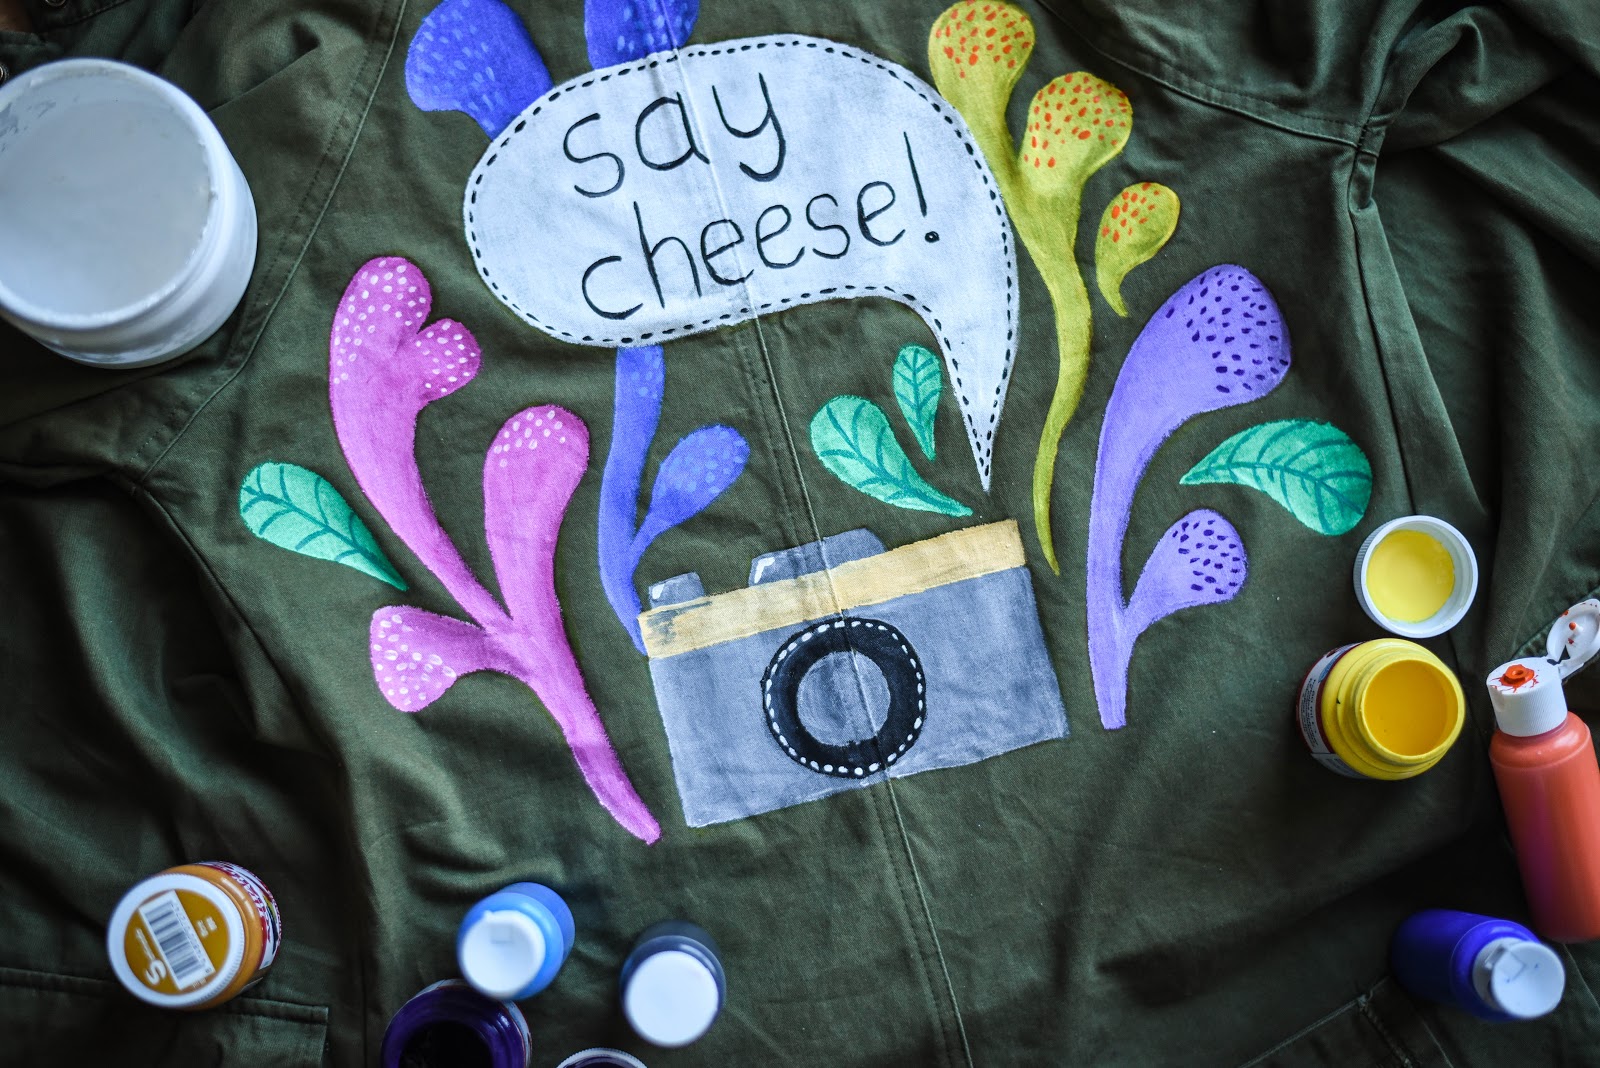
New DIY fashion project here! As I love illustrating, the idea of customizing a jacket with an illustration was in my mind for some time, so I finally made it some weeks ago and here I am with a tutorial to show your how to do yours. This project is suitable for everybody, not just for good drawers, as you'll see with some of the tips I'll tell you. You'll finally get a cool jacket that everybody will love.
Cómo me encanta ilustrar, no podía dejar de enseñaros esta cazadora de estilo militar con ilustración que hice hace unas semanas. Fui haciendo fotos de todo el proceso para traeros un tutorial de algo que, aunque parece difícil, sólo requiere de paciencia y de ir poco a poco creando el dibujo. Apto incluso para quienes no saben dibujar, simplemente seguir los trucos que os explico más adelante y podéis tener una cazadora bien molona y original.

As I told you, it's not necessary to be good at drawing: I created my own drawing and made a quick sketch on a paper, but you can print an easy image from the Internet and transfer it to the fabric with carbon paper. I just drew it with pencil on the fabric, copying from my sketch.
Como ya os he dicho. No hace falta saber dibujar muy bien, yo me inventé el dibujo e hice primero un boceto a lápiz en un papel, pero siempre podéis imprimir alguna imagen sencilla que os guste que encontréis en internet y calcarla con papel carbón en la cazadora. Algo sencillo bastará, lo importante es que sea colorido y divertido, para darle ese punto especial a nuestra prenda.


The thing is coloring the figures with care and patience. I used acrylic paint and a pair of brushes: a medium flat brush for bigger surfaces and a thin one for details. If you see the paint doesn't cover the fabric as you'd like, ad a second layer of paint once the first is dry. The important is too have fun and create for unique garment, if it does not matter if it's not perfect, more genuine it will look. I tried to define a lot the contours by using the flat brush to trace the borders. I started by the centre of the image and the plain surfaces, and then I went to the background and added some textures and lights. I think the result is really interesting and fun. I love it! Hope you like it too. Thanks for reading! Have a great week.
Luego es rellenar con colores, mimo y paciencia. Yo he usado, como siempre, pintura acrílica para manualidades y un par de pinceles: uno plano mediano para las superficies grandes y otro mas fino y alargado para los detalles y las zonas pequeñas. Si alguna parte no queda lo suficientemente cubierta con una pasada, le damos una segunda capa. Lo más importante es jugar y divertirse con esto. El resultado no tiene porque ser perfecto, que quede artesano le da aún más autenticidad a la prenda. Yo he intentado definir bastante los contornos, poniendo el pincel bien plano y marcando el borde de las figuras. He empezado por la parte central del dibujo, y luego he hecho las plantas del fondo. Dejando todos los detalles para el final, una vez se hubiesen secado las capas anteriores. En las imágenes creo que queda bastante claro todo el proceso, pero si tenéis alguna duda de lo que sea, siempre podéis preguntarme en los comentarios o escribirme un directo en mis redes sociales. Estaré encantada de responderos :) Realmente me encanta como ha quedado el resultado y no será la única cazadora que acabe custodiando con una ilustración, tengo varias en mente, así que si me animo os las enseñaré por aquí. Muchas gracias por leerme. ¡Tened una bonita semana!


Interesante DIY, que tengas un buen dia
ReplyDeletehttp://elegant-e.blogspot.com/
https://www.instagram.com/elegant_e_blog/
Get piece of art loved it. Cheese 📸 :)
ReplyDeleteGamiss Coupon
Me gusta mucho la idea. El resultado es muy original.
ReplyDeleteBesos
I love the jacket!!!
ReplyDeletexx
Mónica Sors
MES VOYAGES À PARIS
NEW POST: CROPPED FLARES
DON'T MISS: FASHION MIX
Es preciosa, que artistaza!!!
ReplyDeletebesos
www.misstrendybarcelona.com
Me encanta tu idea, es muy buena!
ReplyDeleteBesos
Kity from www.thekityshoes.com
Such an amazing idea.
ReplyDeleteThanks for sharing.
xx
https://theonethattravels.wordpress.com/
https://www.youtube.com/channel/UC_zn7IqrAY1I44bRuN6dH-Q
Me encanta!
ReplyDeleteWoww!! This is so cool and easy!! I loved this Iidea 😊
ReplyDeleteTe ha quedado preciosa!Su.
ReplyDeletehttp://trendypastel.blogspot.com.es/
Super inspiration !!!
ReplyDeleteYou have great ideas.
www.themomentsbyela.pl
Wow, your artwork (DIY) is amazing! All I can say that you are a pure creative person and I love your output! always the creative and stylish one, keep it coming Emerja!
ReplyDeletehttp://www.lizfashionhouse.com/
Te ha quedado chulísimo!
ReplyDeletewww.muacarmen.com
This is a DIY?
ReplyDeleteOh my I thought it was a patch on your instagram, I love it!
xx, rebecca
rbcmrm.blogspot.de